Implement a RIPE Atlas probe in Kubernetes
- Introduction
- Running the probe as a docker container
- Running the probe in Kubernetes
- Registering the new probe
Introduction
What is RIPE Atlas? - RIPE Atlas is a global network of probes that measure Internet connectivity and reachability, providing an unprecedented understanding of the state of the Internet in real time. Originally RIPE would send a probe (See V1 or V3) so you could host it in our premises, be it at home or in a datacenter.
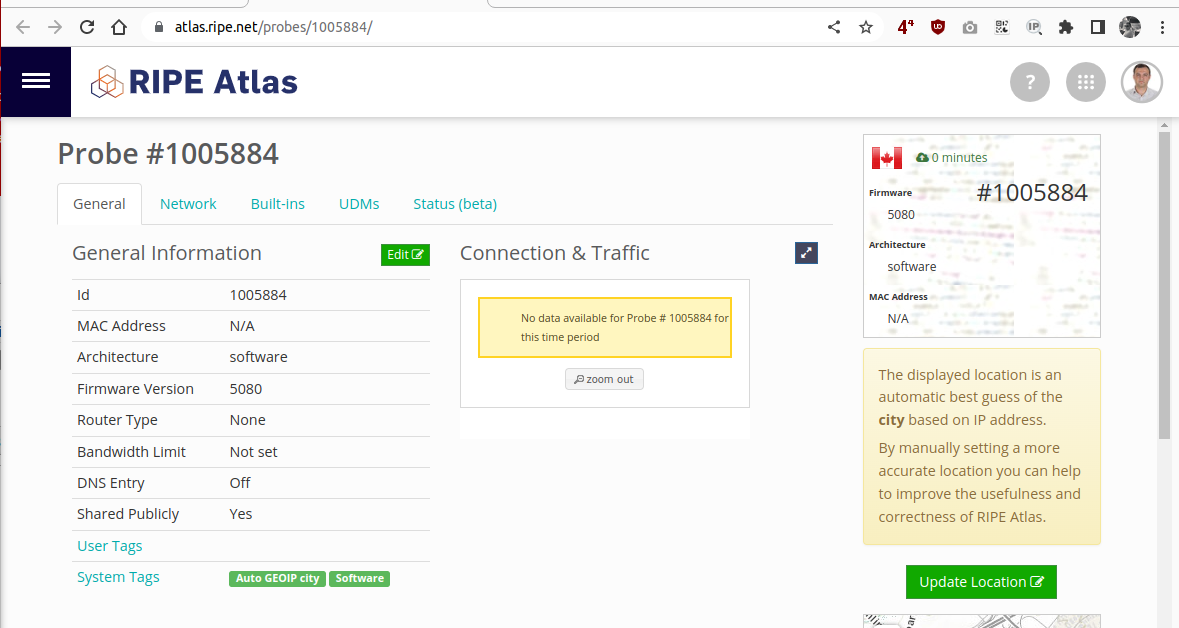
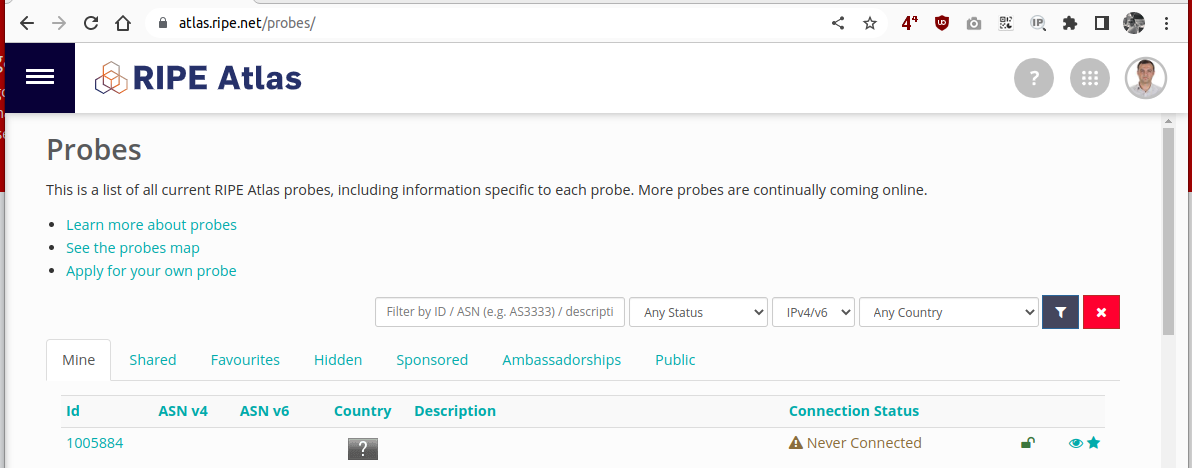
After you received the probe and register it in the Atlas website, the probe will show in the atlas portal https://atlas.ripe.net/probes/
In order to allow more users to host the probes, lack of probes availability and lower maintenance (the USB sticks would break intermittently) RIPE opensourced the probe software so that it could be compiled and hosted on a PC or VM.
Running the probe as a docker container
Effort has been made to run the software probe within a container executor, mainly podman or docker but there is no Kubernetes implementation at the time of writing this article. Such solutions are mentioned in the RIPE website for platform specific implementations where the most known is from Jamesit.
After you start the container with this command, you are instructed to grab the generated ssh public key from /var/atlas-probe/etc/probe_key.pub and register your software probe here
Running the probe in Kubernetes
For the probe to run in a kubernetes environment we need to change the deployment method. Since this container will have access to at least two volumes: ssh keys and status, and we need at least a copy of the container to run in a Pod anywhere n the cluster, it is better to configure this as a Kubernetes Deployment.
Prerequisites
When running the container from Docker, the probe will automatically generate an SSH key pair in the /var/atlas-probe/etc/ location so that we can copy the public key from. This is not a good approach in Kubernetes since it is a good idea to keep all the configs/secrets in manifest files beforehand so we can apply everything with a kubectl -f <files_here>.yml
Create the Kubernetes namespace
To isolate the workload of the RIPE Atlas pod we will use best practices and run the deployment in a separate namespace:
$ kubectl apply -f - <<EOF
---
apiVersion: v1
kind: Namespace
metadata:
  name: ripe-atlas
EOF

namespace/ripe-atlas created
Generate the SSH keypair
Basic procedure to create the keypair. Let’s use the preferred naming when generating the keys:
$ ssh-keygen -t rsa -b 4096 -f ~/.ssh/probe_key -C "atlas-ripe-key"
Generating public/private rsa key pair.
Enter passphrase (empty for no passphrase):
Enter same passphrase again:
Your identification has been saved in /home/besmir/.ssh/probe_key
Your public key has been saved in /home/besmir/.ssh/probe_key.pub
...
Create the kubernetes secret containing the SSH key pair
Let’s create the kubernetes secret containing the SSH key pair to authenticate to RIPE Atlas in the ripe-atlas namespace:
$ kubectl create secret generic ripe-atlas \
    --namespace ripe-atlas \
    --from-file=probe_key=/home/besmir/.ssh/probe_key \
    --from-file=probe_key.pub=/home/besmir/.ssh/probe_key.pub

secret/ripe-atlas created
Verify the secret was generated
$ k get secrets -n ripe-atlas ripe-atlas
NAME          TYPE     DATA   AGE
ripe-atlas   Opaque   2      63s
You can have a look at the content of the secret with the following commands:
# Private key
$ kubectl get secrets -n ripe-atlas ripe-atlas -o json | jq .data.probe_key -r | base64 -d

-----BEGIN OPENSSH PRIVATE KEY-----
b3BlbnNzaC1rZXktdjEAAAAABG5vbmUAAAAEbm9uZQAAAAAAAAABAAACFwAAAAdzc2gtcn
NhAAAAAwEAAQAAAgEA2gvdBMxrFtP2sRBpRZal8IAK2Xyjll79MCkQanR+53MXOwo/whrg
wkwVgPxjTdmVQ3cqrEjHuyPK56t4TWiNZUNTuB0Cci9KSy+1wjBCownZM5osaIuKcWfiaz
/Mnhs3oiZNeCFwmAvChGNcmKyDWg8KjE0/wRkOinqIOo2q36sgaItOcuySJDeGzByV1eZ+
LWSS1RzLONAXLHU8+cntQtpaTlVES5NdNNkzQxP3KpePjdrm6zTbFu5QOVxtNbs69gFj2n
vG0sakqZTP+Um6S0Q0zVtQz4vvLBO3aQ5uE0VMwO86utqnfuVNrthesMb6nQhj2NgsBp2f
c1e8mjZP1HUm8WuPQkXbTnpBa9SWQ2cNqlxopRcz14q4XqCJ6ProcCRXLVUX6czFGhK9xj
...

# Public key
$ kubectl  get secrets -n ripe-atlas ripe-atlas -o json | jq '.data."probe_key.pub"' -r | base64 -d

ssh-rsa AAAAB3NzaC1yc2EAAAADAQABAAACAQDaC90EzGsW0/axEGlFlqXwgArZfKOWXv0wKRBqdH7ncxc7Cj/CGuDCTBWA/GNN2ZVDdyqsSMe7I8rnq3hNaI1lQ1O4HQJyL0pLL7XCMEKjCdkzmixoi4pxZ+JrP8yeGzeiJk14IXCYC8KEY1yYrINaDwqMTT/BGQ6Keog6jarfqyBoi05y7JIkN4bMHJXV5n4tZJLVHMs40BcsdTz5ye1C2lpOVURLk1002TNDE/cql4+N2ubrNNsW7lA5XG01uzr2AWPae8bSxqSplM/5SbpLRDTNW1DPi+8sE7dpDm4TRUzA7zq62qd+5U2u2F6wxvqdCGPY2CwGnZ9zV7yaNk/UdSbxa49CRdtOekFr1JZDZw2qXGilFzPXirheoIno+uhwJFctVRfpzMUaEr3GPhQF+swJOnjy/4Q2+Ehzd4yq/oSWPFxE5GwJz/Y94Gbq9yXJrxp7Fvh4GXDcc2svEsC7NPBOOTMa9ksreY89yWxh6a/dJz0WHv+M8nHDWrT/grX8BqimXD+qHAfYrZUkA1te+eIzqxrteUfp0h6api5dUALBnP5lce5C499jJUj6fvgi6WNDuj4qW/Aj79w+6WTaTo0K6LIEoK7Qu27pQo86u+cQO2YnY2nFTLlIdpNsrzhG7eGGrUZPxIKBrLTDWm1YLUAtVA/s5SKXo57zO5Jfgw== atlas-ripe-key
All looks good so far.
Create the volume to store the probe status
We will now create a PVC so that it will store our probe’s status. I am assuming you already have a default StorageClass configured in the cluster.
$ kubectl apply -f - <<EOF
kind: PersistentVolumeClaim
apiVersion: v1
metadata:
  name: atlas-ripe-status
  namespace: ripe-atlas
spec:
  accessModes:
    - ReadWriteMany
  resources:
    requests:
      storage: 512Mi
EOF

persistentvolumeclaim/atlas-ripe-status created
Create the deployment
Finally it is now time to deploy the pod running the RIPE Atlas probe. Notice I am using this docker image beszan/docker-ripe-atlas:latest since it needed to remove some lines from the entrypoint.sh file. You can build the container image yourself and replace this filed in the deployment.
$ kubectl apply -f - <<EOF
---
apiVersion: apps/v1
kind: Deployment
metadata:
  labels:
    app: ripe-atlas
  name: ripe-atlas
  namespace: ripe-atlas
spec:
  progressDeadlineSeconds: 600
  replicas: 1
  revisionHistoryLimit: 10
  selector:
    matchLabels:
      app: ripe-atlas
  template:
    metadata:
      labels:
        app: ripe-atlas
    spec:
      containers:
        - image: beszan/docker-ripe-atlas:latest
          securityContext:
            capabilities:
              add: ["NET_ADMIN", "SYS_TIME", "SYS_ADMIN"]
          imagePullPolicy: Always
          name: ripe-atlas
          volumeMounts:
            - name: ripe-atlas-key
              mountPath: "/var/atlas-probe/etc/probe_key"
              subPath: probe_key
              readOnly: false
            - name: ripe-atlas-key
              mountPath: "/var/atlas-probe/etc/probe_key.pub"
              readOnly: false
              subPath: probe_key.pub
            - name: atlas-ripe-status
              mountPath: "/var/atlas-probe/status/"
      restartPolicy: Always
      volumes:
        - name: atlas-ripe-status
          persistentVolumeClaim:
            claimName: atlas-ripe-status
        - name: ripe-atlas-key
          secret:
            secretName: ripe-atlas
EOF

deployment/ripe-atlas created
Registering the new probe
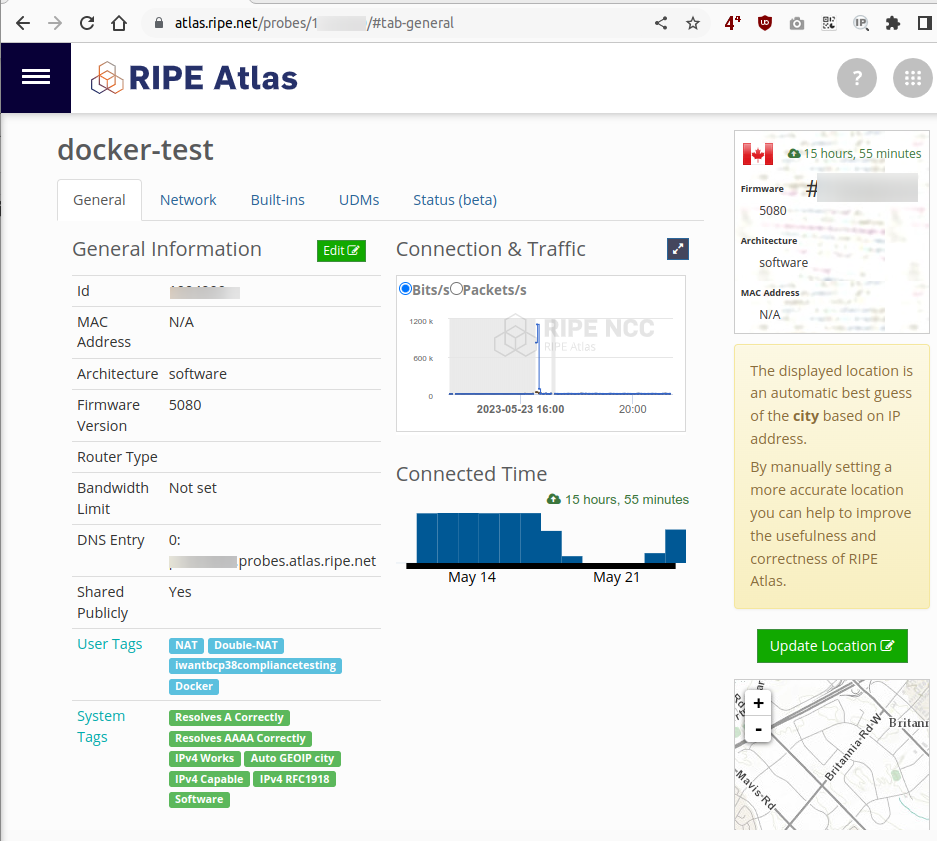
Now it is time to register our new probe at the registration website by pasting the public key above.
Then go back to the probes portal where you will see you newly created software probe like this
After a few minutes the probe will get registered in the RIPE Atlas servers. You can check the pod logs and look for a initiating KEEP connection string like this
 $ kubectl -n ripe-atlas logs -f deployments/ripe-atlas
/usr/local/bin/atlas: 23: source: not found
/usr/local/bin/atlas: 24: source: not found
/usr/local/bin/atlas: 25: source: not found
/usr/local/bin/atlas: 26: source: not found
/usr/local/bin/atlas: 27: source: not found
RESULT 9000 done 1684955148 ee43d1d75d32 STARTING ATLAS system initialized (reboot count 0)
RESULT 9000 done 1684955148 ee43d1d75d32 STARTING TELNETD LOCALLY
eth0: flags=4163<UP,BROADCAST,RUNNING,MULTICAST>  mtu 1450
        inet 10.42.3.151  netmask 255.255.255.255  broadcast 0.0.0.0
        inet6 fe80::ec43:d1ff:fed7:5d32  prefixlen 64  scopeid 0x20<link>
        ether ee:43:d1:d7:5d:32  txqueuelen 0  (Ethernet)
        RX packets 4  bytes 356 (356.0 B)
        RX errors 0  dropped 0  overruns 0  frame 0
        TX packets 5  bytes 426 (426.0 B)
        TX errors 0  dropped 1 overruns 0  carrier 0  collisions 0

lo: flags=73<UP,LOOPBACK,RUNNING>  mtu 65536
        inet 127.0.0.1  netmask 255.0.0.0
        inet6 ::1  prefixlen 128  scopeid 0x10<host>
        loop  txqueuelen 1000  (Local Loopback)
        RX packets 0  bytes 0 (0.0 B)
        RX errors 0  dropped 0  overruns 0  frame 0
        TX packets 0  bytes 0 (0.0 B)
        TX errors 0  dropped 0 overruns 0  carrier 0  collisions 0

RESULT 9006 done 1684955148 ee43d1d75d32 no reginit.vol start registration
/var/atlas-probe/status/reginit.vol does not exist try new reg
Ping failed
start reg
ATLAS registration starting
REASON_FOR_REGISTRATION NEW NO previous state files
REGHOSTS reg03.atlas.ripe.net 193.0.19.246 2001:67c:2e8:11::c100:13f6 reg04.atlas.ripe.net 193.0.19.247 2001:67c:2e8:11::c100:13f7
ssh -p 443 atlas@193.0.19.247 INIT
Got good controller info
check cached controller info from previous registration
NO cached controller info. NO REMOTE port info
Do a controller INIT
Controller init -p  443 atlas@ctr-hel09.atlas.ripe.net  INIT
initiating  KEEP connection to -R 52631 -p  443 ctr-hel09.atlas.ripe.net
After the KEEP connection message shows in the logs you can now verify that the probe is successfully connected to the RIPE Atlas backend.