Set up a Powershell dev environment
UPDATE - FEB 2022: This guide is a bit obsolete by now. Best way is to install WSL.
For us sysadmins it is important to create scripts on the fly and make things work. By working in an ad-hoc way, our scripts will get lost, not cured and especially not searchable.
Initial tools setup
To better organize our code some personal best practices follow:
Environment: Windows
Install and download TortoiseGit and of course GIT. While installing GIT just select the defaults for you.
Saving code
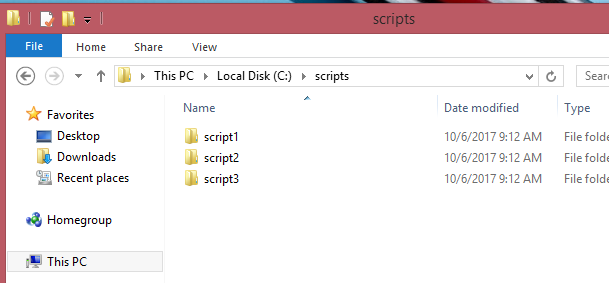
For every single script it is a better idea to integrate or put all its relative files in a separate folder. Then put all these folders in a single one named: scripts.
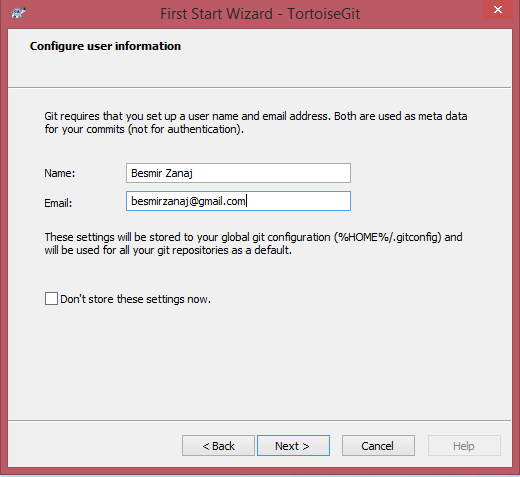
After installing TortoiseGIT it is a good idea to go with the First Start wizard.
Select the defaults and in the “configure user information” screen input your name and a valid email address.
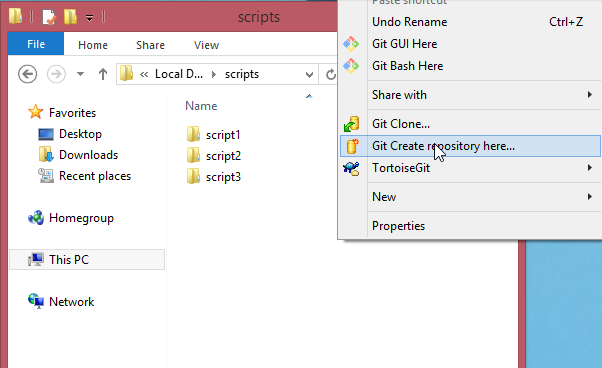
The next thing to do is to integrate all your scripts in a GIT repo. With the help of TortoiseGIT this can be easily achieved with only the right click of the mouse
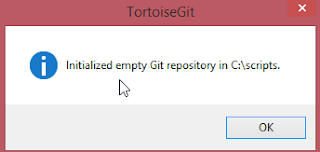
And you are done with the repository creation.
After each working sessions it is a good idea to commit your work. With TortoiseGIT again this can be easily done by a mouse right-click.
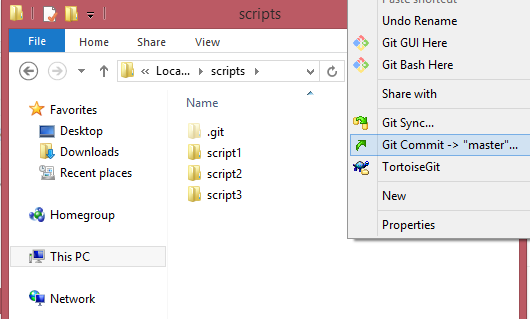
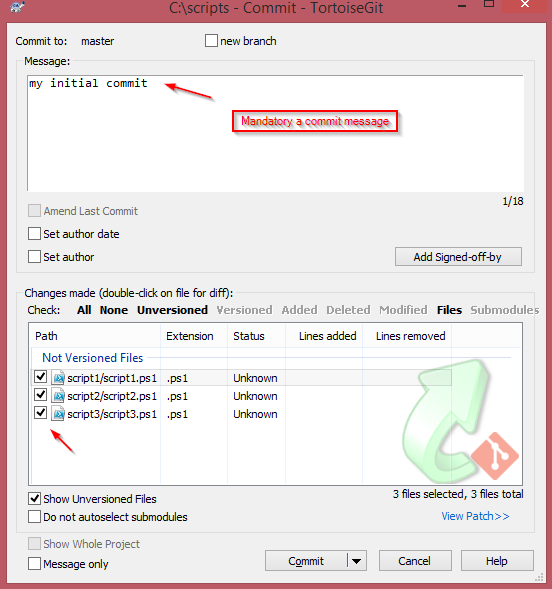
Then fill out the commit screen with an appropriate message and then click commit
The commit confirmation screen will show up.
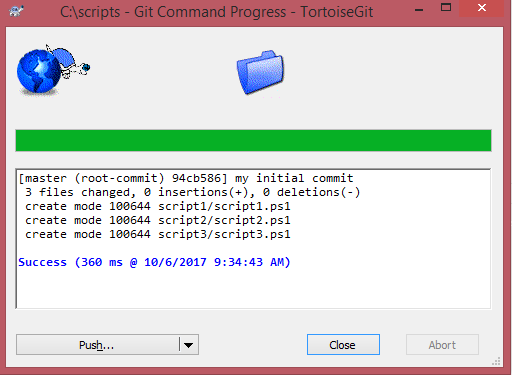
Do the same steps (commit) after each coding session to save your work and your coding history.
Pushing code remotely
After working locally, you might consider storing your code in a server repo. A good one is at GitLab which offers private repos for free.
